
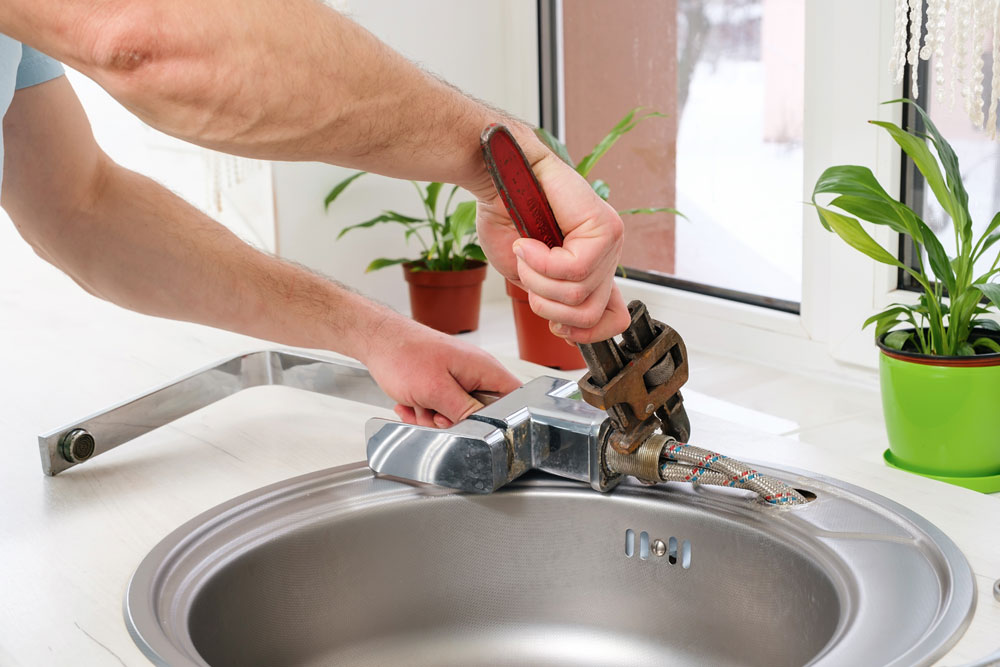
A leaking faucet creates an irritating sound, stains sinks, wastes water, and can increase household utility costs. Fortunately, many faucet leaks come from small internal components that can be replaced without changing the entire fixture.
The correct repair depends on the faucet type and the exact location of the leak. Water dripping from the spout usually indicates an internal valve problem. Water leaking around the handle may come from an O-ring, packing nut, or cartridge seal. Moisture underneath the sink may be caused by supply lines, fittings, or the faucet body.
Before taking anything apart, identify the source and prepare the work area.
Confirm Where the Water Is Coming From
Dry the faucet, sink, countertop, cabinet, and supply connections. Turn the faucet on and watch each area carefully.
A drip from the spout after the handle is closed normally points to a worn washer, cartridge, ceramic disc, valve seat, or internal seal.
Water around the base may come from a damaged gasket or loose mounting hardware. Leakage near the handle can indicate worn O-rings or a loose packing nut.
Check underneath the sink while the faucet is running. Tight spaces can hide water traveling along supply tubes before it drops onto the cabinet floor.
Place dry paper towels around connections. Even a small leak will leave a visible wet mark and help identify the source.
Turn Off the Water Supply
Look beneath the sink for hot- and cold-water shutoff valves. Turn both valves clockwise until closed. Do not force a valve that is severely corroded or stuck.
Open the faucet to release remaining pressure and confirm that the water has stopped. If shutoff valves do not work, close the home’s main water supply before continuing.
Cover the drain with a stopper or cloth. Faucet screws, clips, springs, and washers are small enough to disappear into the drain.
Place the removed components in order on a towel. Taking a photo after each step can make reassembly easier.
Identify the Faucet Type
Most household faucets fall into four general categories: compression, cartridge, ball, and ceramic-disc.
Compression faucets usually have separate hot and cold handles. They control water by pressing a rubber washer against a valve seat.
Cartridge faucets may have one or two handles. A removable cartridge regulates flow and temperature.
Ball faucets usually have one handle attached to a rounded cap. They contain several small seals, springs, and a rotating ball.
Ceramic-disc faucets often have one lever and use durable ceramic plates inside a cylinder.
Knowing the type prevents you from purchasing incorrect replacement parts.
Repair a Compression Faucet
Remove the decorative cap from the leaking handle and unscrew the handle. Use the correct tool to remove the packing nut without damaging its surface.
Lift out the stem assembly. A rubber washer is usually attached to the bottom with a small screw. Replace the washer with one of the same shape and size.
Inspect the O-ring around the stem. Replace it if it is flattened, cracked, or loose. Apply only a small amount of plumber-approved grease when recommended for the component.
Check the valve seat inside the faucet body. A damaged or heavily corroded seat may continue cutting into new washers. Some seats can be removed with a seat wrench, while others require professional repair.
Reassemble the faucet and tighten components firmly without excessive force.
Replace a Faucet Cartridge
Remove the handle screw and lift off the handle. Depending on the model, you may need to remove a retaining nut, decorative sleeve, or metal clip.
Note the cartridge’s orientation before pulling it out. Installing the replacement backward can reverse hot and cold controls or prevent proper operation.
Mineral buildup may make the cartridge difficult to remove. A manufacturer-compatible cartridge puller can help. Avoid twisting the faucet body or nearby pipes.
Take the old cartridge to a plumbing supplier or hardware store for accurate matching. Similar-looking cartridges are not always interchangeable.
Clean the interior of loose debris, install the new cartridge in the correct position, and replace the retaining parts.
Repair a Ball Faucet
Ball faucets contain multiple small pieces, making them more complex than compression faucets.
Remove the handle and cap. Lift out the ball and inspect it for wear or mineral buildup. Below the ball, small rubber seats and springs control the water supply.
A repair kit designed for the exact faucet model is usually the easiest option. Replace the seats, springs, O-rings, and other worn components included in the kit.
Do not scratch the inside of the faucet body. Damage to the sealing surface can cause continued leakage.
Reassemble the parts in the correct order. Tightening the cap too much may make the handle difficult to operate.
Service a Ceramic-Disc Faucet
Remove the handle and decorative cap to access the ceramic cylinder. Unscrew the retaining hardware and lift the cylinder from the faucet.
Inspect the seals at the bottom. Mineral deposits or damaged seals can prevent the ceramic plates from closing completely.
Clean accessible openings with white vinegar and a soft brush. Replace damaged seals or the entire cylinder when necessary.
Ceramic components are durable but can crack if handled roughly. Reinstall the cylinder in the same position and tighten screws evenly.
Open the water supply slowly after completing the repair. A sudden burst of water can place unnecessary stress on internal components.
Fix Leaks Around the Faucet Base
Water around the base may not be coming from the valve. It may be caused by splashing, a loose faucet, failed gasket, damaged sealant, or water traveling from the handle.
Inspect mounting nuts underneath the sink. Tighten loose hardware carefully while another person holds the faucet in alignment.
If the base gasket has failed, remove the faucet and replace the gasket according to the manufacturer’s instructions. Clean old residue before reinstalling the fixture.
Some faucet bases use plumber’s putty or approved sealant, while others rely on a rubber gasket. Follow the fixture instructions instead of adding sealant automatically.
Inspect Supply-Line Connections
Leaks below the sink often develop where supply lines attach to shutoff valves or faucet tails.
Tighten compression nuts slightly with two wrenches, using one to hold the valve steady. This prevents torque from damaging the pipe inside the wall.
Replace supply lines that show corrosion, cracks, bulging, fraying, or damaged fittings. Do not reuse a line that has been sharply bent or stressed.
Thread-sealing tape is not appropriate for every type of connection. Compression fittings and connections with rubber washers usually seal through their own components.
If a shutoff valve leaks around its stem, gentle tightening of the packing nut may help. Replace the valve when leakage continues.
Turn the Water Back On Slowly
Close the faucet handles before reopening the shutoff valves. Open each valve gradually and watch all repaired areas.
Run both hot and cold water. Check the spout, handle, base, supply lines, and cabinet floor. Dry everything and inspect again after several minutes.
Remove the aerator and flush the faucet briefly when debris may have entered during the repair. Reinstall the aerator after the water runs clear.
A few drops left inside the spout may fall after shutoff. Continuous dripping indicates that the repair has not fully corrected the sealing problem.
Deciding Whether to Repair or Replace
Repair is usually worthwhile when the faucet body is in good condition and replacement parts are available. Replacement may be more practical when the fixture is badly corroded, repeatedly leaks, has cracked components, or uses discontinued parts.
Home-service contractors often build customer awareness through local plumbing publicity and neighborhood-focused marketing. Some companies use plumbing company ranking services to appear when homeowners search for urgent repairs.
Contractors may follow small plumbing business guidance to improve estimates and customer service. They may also consider backlink packages for service businesses when promoting their websites. These marketing efforts can help customers discover companies, but homeowners should still verify technical qualifications.
Prevent Future Faucet Leaks
Do not force faucet handles after the water stops. Excessive pressure damages washers, cartridges, and valve seats.
Clean aerators regularly to reduce pressure buildup caused by mineral debris. Address hard-water scale before it damages multiple fixtures.
Check beneath sinks periodically and replace aging supply lines. A small leak caught early is easier to repair than swollen cabinets or damaged flooring.
Most leaking faucets can be stopped quickly after the correct internal part is identified. Shut off the water, preserve the order of components, install an exact replacement, and test every connection. When the faucet body is damaged or the leak continues after repair, replacement or professional service is the more dependable choice.